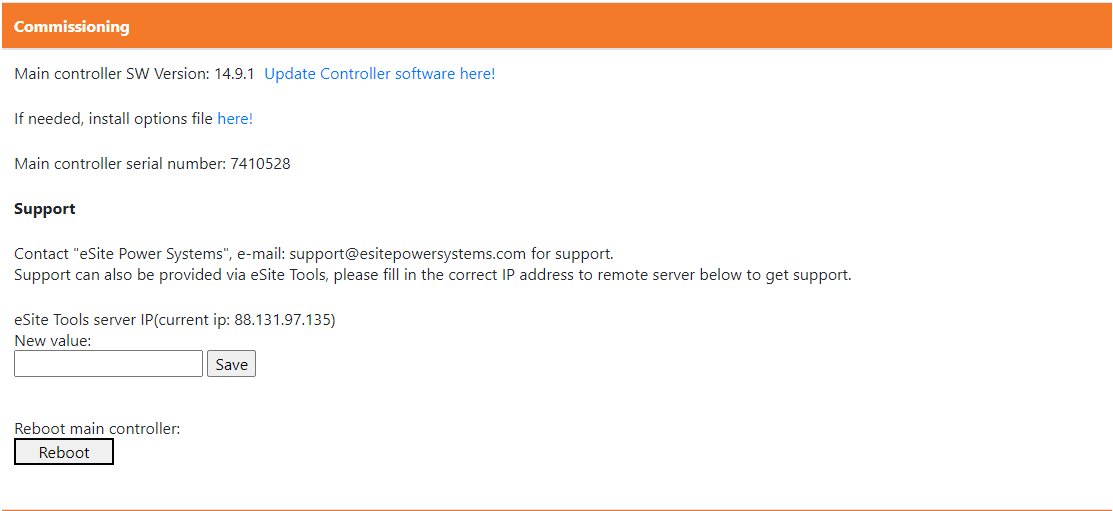
Figure 5.1. A screenshot of the first Site Commissioning page on eSite Web.
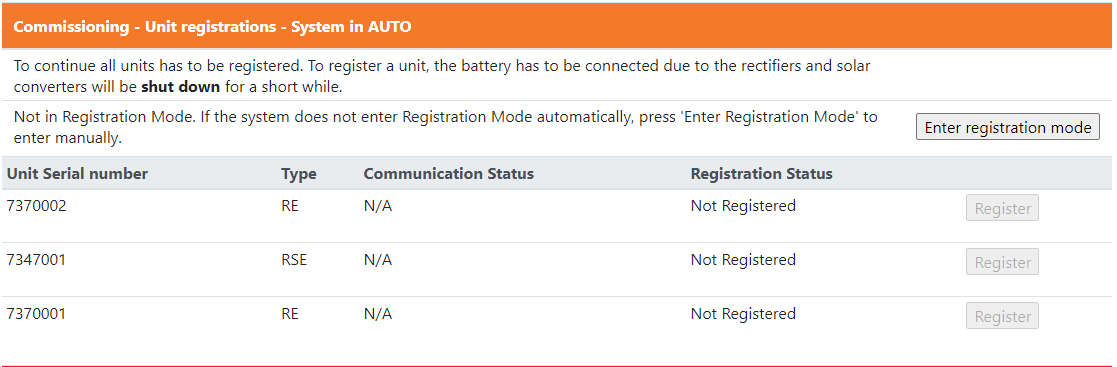
Figure 5.2. Screenshot of the Unit registration process (System in Auto) of the first Site Commissioning page on eSite Web.
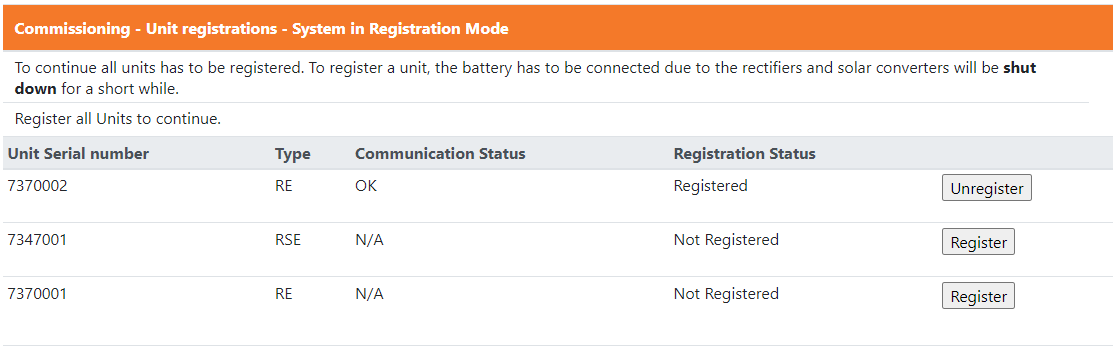
Figure 5.3. Screenshot of the Unit registration process (System in Registration) of the first Site Commissioning page on eSite Web.
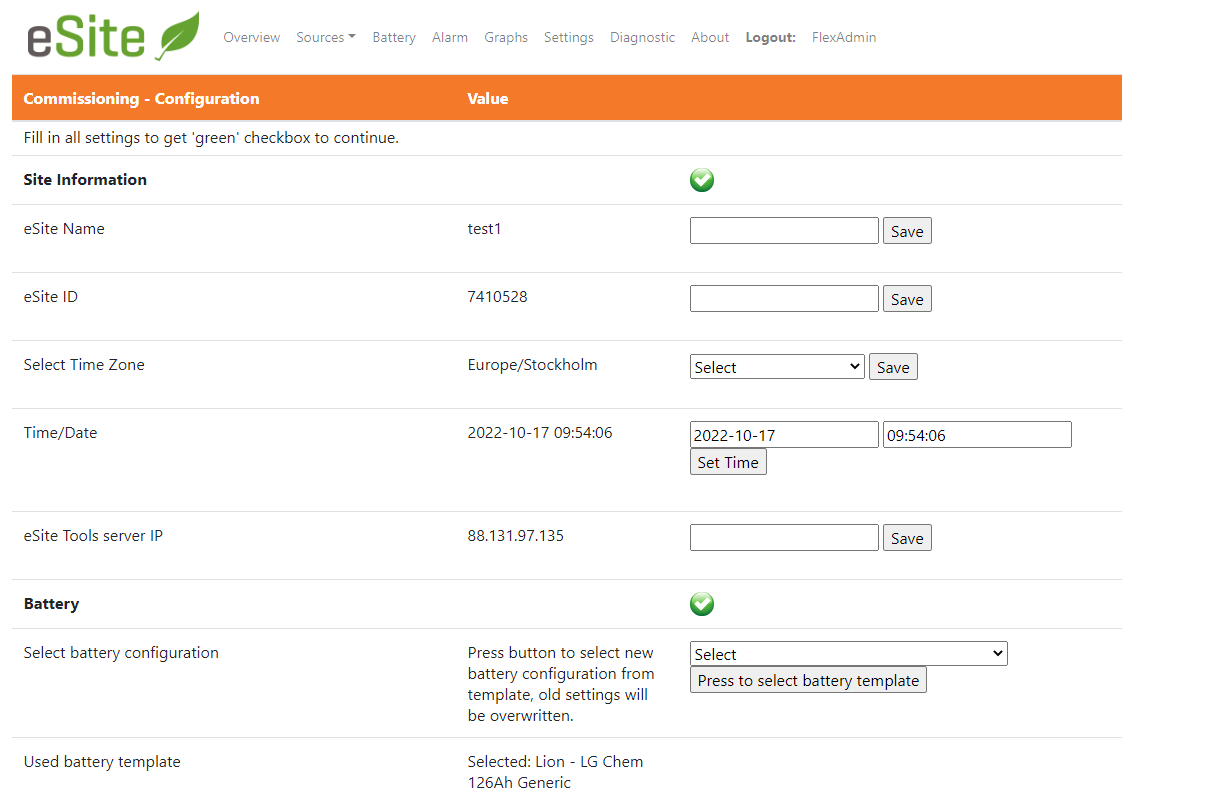
Figure 5.4. Example of Site Information and Battery settings in the Site Commissioning guide.
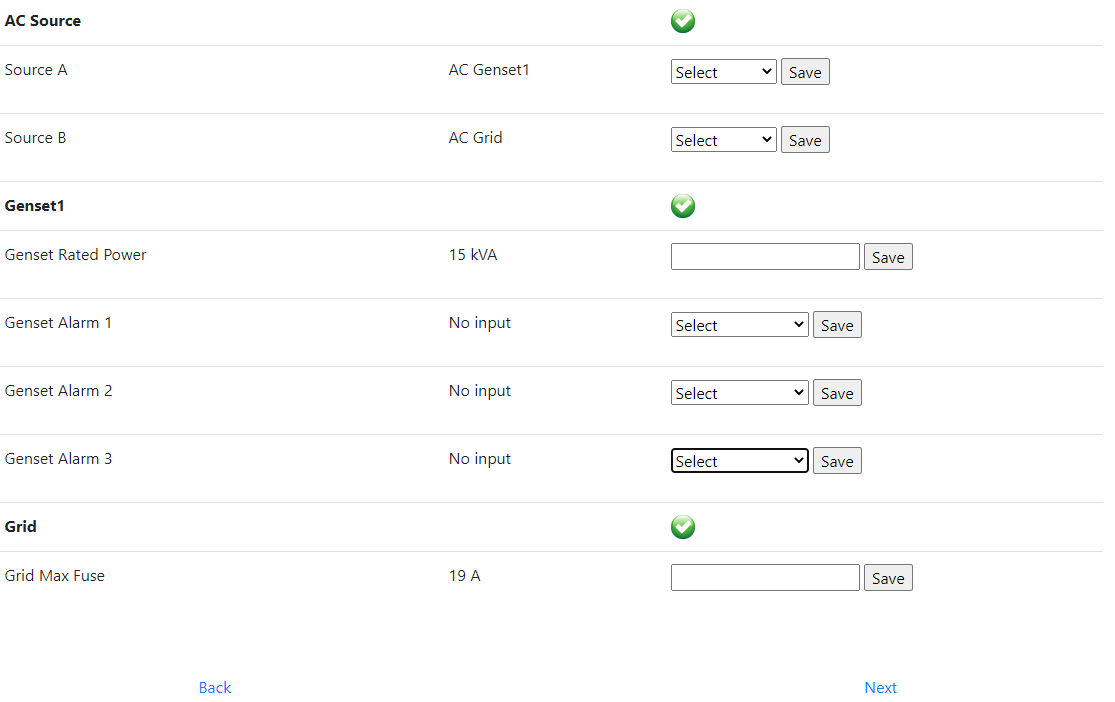
Figure 5.5. Example of AC power source settings in the Site Commissioning guide.